Home - Studio Design - Soundproofing Your Home Studio 101
If you are interested in soundproofing a home studio, a room in your house, or building a studio from scratch in your own backyard. then this article is for you. Today, we will go over the basics of soundproofing so you have a rock solid foundation for moving forward with your project. Easy Panelling
To start off, we have to clear up the number #1 of misconception around soundproofing:
Soundproofing is not acoustic treatment, and sadly, adding foam panels to your walls will not help stop sounds from getting in and out of your studio.
Acoustic Treatment is the use of acoustic panels to reduce reflections in your room to make the room sound more pleasing for recording or playing back music.
Soundproofing is the use of construction techniques to prevent sound from entering or exiting your room.
While foam, or better yet, fiberglass panels have a role in acoustic treatment, you will need a totally different strategy for soundproofing.
At the end of the day, to do any degree of meaningful soundproofing, you’re going to have to build. But fortunately, with the information below, the prospect of doing so is going to become a lot more manageable, and a lot less daunting.
Ultimately, soundproofing is a construction job. It’s not about hanging foam on your walls. It’s about building new ones, or adding more mass to what’s already there.
Soundproofing essentially comes down to three basic key pillars. They are: Mass , Air and Decoupling . Let’s take a deeper dive into each one below.
Mass is the foundation of soundproofing. There’s simply no way around it: To stop sound, you need really heavy stuff. Everything we do to soundproof a space requires heavy surfaces, including doors, walls, windows, floors and ceilings.
To create a soundproof room it must be airtight. This means you must seal any tiny air gaps in your room. Even small air leaks can let in sound and ruin your otherwise soundproof design.
The last component of soundproofing is what is known as “decoupling”. “Coupling” is a term that describes sound that moves through one material to another. For example, if you place your ear on a railroad track you can hear a train coming from miles away. This is because sound is traveling through the railroad rails to your ear through the metal material. We want to eliminate sound traveling through materials in a recording studio design so your sound stays in and outside sound stays out.
The classic approach to soundproofing includes building two sets of walls that don’t touch, with an air gap between them. This satisfies our three major criteria: Mass, air, and decoupling.
Here’s a quick overview to illustrate how these concepts work in a real-world environment.
In an ideal world, we’d build on a heavy concrete slab because it is massive. This will reduce sound that can travel in and out through your floor.
For our walls, we’d be sure to decouple them from the outside world by building a new interior wall at least 1” in from our outside wall. We’d then add two layers of drywall on the inside wall to add mass.
For our ceiling, we use special decoupling techniques we will explain later to detach the drywall from the ceiling joists. We’ll also want to use two layers of drywall on the ceiling to add mass to the ceiling.
Lastly, we want to be sure to seal up any air gaps, so we use acoustic caulk where our walls meet in the corners, where they meet the ceiling, and where the floor and walls meet. This ensures the room is absolutely airtight.
Next, let’s look more closely at the best designs for each aspect of your soundproof room.
There are many options when it comes to soundproofing your floors, but nothing quite comes close to a good concrete slab.
Concrete is super massive, and therefore stops sound in its tracks. If you are building in a basement or in a garage, then your concrete slab is also surrounded by earth, which increases its ability to isolate outside sound.
If nothing else, try to build a soundproof room on a concrete slab whenever possible. But if you absolutely can’t build on a concrete slab, you still have an option: the “floating floor” approach.
Similar to the idea of double walls, a floating floor adds mass and decouples yout floor to some degree from the rest of the building you’re in. However, a floating floor does not have a lot of mass, so it is not as good at stopping low frequencies like a kick drum, bass amp or subwoofer.
If you are fortunate enough to build on a concrete slab, your job is much easier. In other situations, a “floating” floor design that decouples your floor from the subfloor will significantly increase your isolation potential.
There are several different design options for soundproofing walls, but I have found two that I really like for most situations.
The first is what is known as a “hat channel design” (see image below). You essentially attach acoustic clips to your bare wall studs. Then, you fill the wall bays with insulation. Next, you attach metal “hat channels” to your acoustic clips. Finally, you screw two layers of drywall to these metal channels.
A hat channel helps decouple walls from studs and from one another.
This design works well because you are decoupling your two walls from one another using the hat channels. Even though both walls are attached to the same studs, the hat channels between them stop much of the vibration from taking a “flanking path” through the studs from one wall to the other. You then add two layers of ⅝” drywall to the new interior wall, which will create a lot of mass to stop sound in its tracks.
The second wall design, which we’ll call “a double wall system”, is even better… but it also takes up even more floor space. For this approach, you’ll want to build an entirely new interior wall frame at least 1” from your outer wall. Then, you fill the bays with insulation and add two layers of ⅝” drywall to the inside wall.
This wall is the best soundproof design and is what I usually recommend to my soundproofing clients.
A closer look at offset studs for the interior wall.
When it comes to your ceiling, I recommend using the same hat channel design we covered previously, but for your ceiling.
You will attach acoustic clips to the ceiling joists, attach the hat channels to the clips, and then finish by adding two layers of ⅝” drywall to the hat channels.
This will ensure your ceiling has mass and reduces the flanking paths through your ceiling.
A “dropped” or “hung” ceiling decouples your inner ceiling from the roof or the floor above. Because you will lose some ceiling height, it’s important you build in spaces that a bit of headroom to lose.
If you’ve done your job right, and sealed all of the corners in your space using acoustic caulking, congratulations! You’ve created a soundproof room that is essentially airtight.
…The only problem is that an airtight room means a room where there is no transfer of fresh air in and out of your room. You’ve stopped sound in its tracks, but you’ve also stopped your ability to breathe!
To solve this problem I recommend installing an ERV (Energy Recovery Ventilator) in your studio so that fresh air is brought from the outside and stale air is exhausted to the outside. You’ll also want to heat and cool your soundproof room using either a mini-split or your home HVAC system.
How to do this is a bit beyond the 101 level, but it is important to think about and be aware of in your design process.
Once you finish your build, your studio will be pretty much airtight. Including ventilation strategies as part of your plan is essential.
When it comes to soundproof doors and windows the same three principles still apply: You want to have really heavy doors and windows that are airtight and ideally are decoupled from the frame.
Doors can either be bought by a soundproofing company or built on site.
One common method for soundproof door designs are to create what is known as a “communicating door”.
This is where two doors are used on either side of your wall. One door opens into your soundproof room while the other opens out. There is a small air gap between the doors, which helps with sound isolation.
Both doors must use weather stripping around all the air gaps of the door to ensure it is airtight. The doors should also be very heavy and you should use solid core doors for your soundproof studio.
Windows are a bit unique. The best soundproof windows can be bought pre-built or made on site. But the key to a great soundproof window is the type of glass used, and the air gap between the two pieces of glass.
The best types of glass for soundproofing are tempered glass and laminated glass. Any other type of glass should not be used. If you’re using the double wall design or hat channel design for your walls, then you will have a natural air gap between your inside wall and outside wall. Maintaining the distance of this air gap between the two panes of glass in your window will help in isolating your windows.
Lastly, you want to get very heavy glass so having panes of ½” to ⅜” thickness is common in recording studios. Again, thicker glass corresponds to more mass, which means more stoppage of sound. But you also want to be strategic. Just as with walls, the ideal window design will incorporate panes of two different thicknesses to minimize sound transfer through the window system at the resonant frequencies of either window pane.
The author’s completed home studio is a nicely isolated safe haven separated from his house. But the same principles can be applied to building a studio area within an existing structure.
There’s no way to deny it: Real soundproofing is a big project. But you can get great results on the DIY level.
If you want to succeed in your soundproofing journey, I have created a free soundproofing workshop that will guide you through designing your own soundproof studio.
You will leave this workshop with a design in hand and ready to start building your dream soundproof studio. To sign up for the free workshop just head on over to soundproofyourstudio.com/workshop to get started. Hope to see you there!
Wilson Harwood runs the site Soundproof Your Studio. To sign up for his free workshop, head on over to soundproofyourstudio.com/workshop to get started.
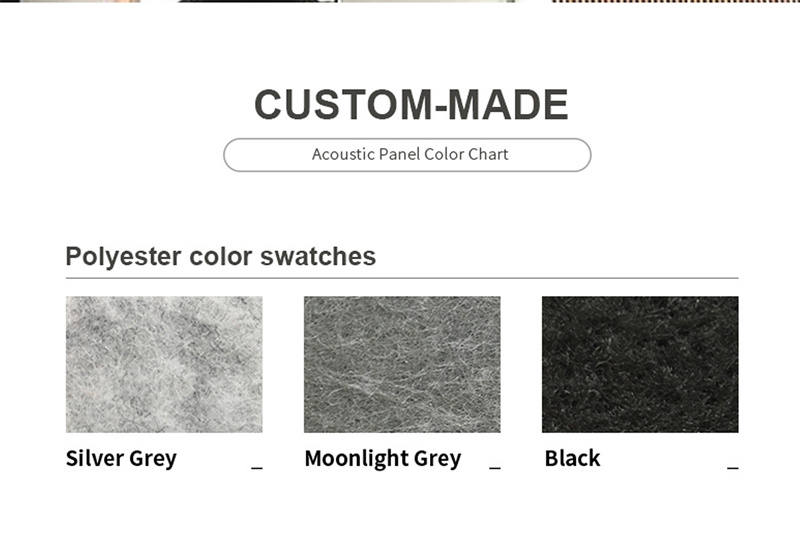
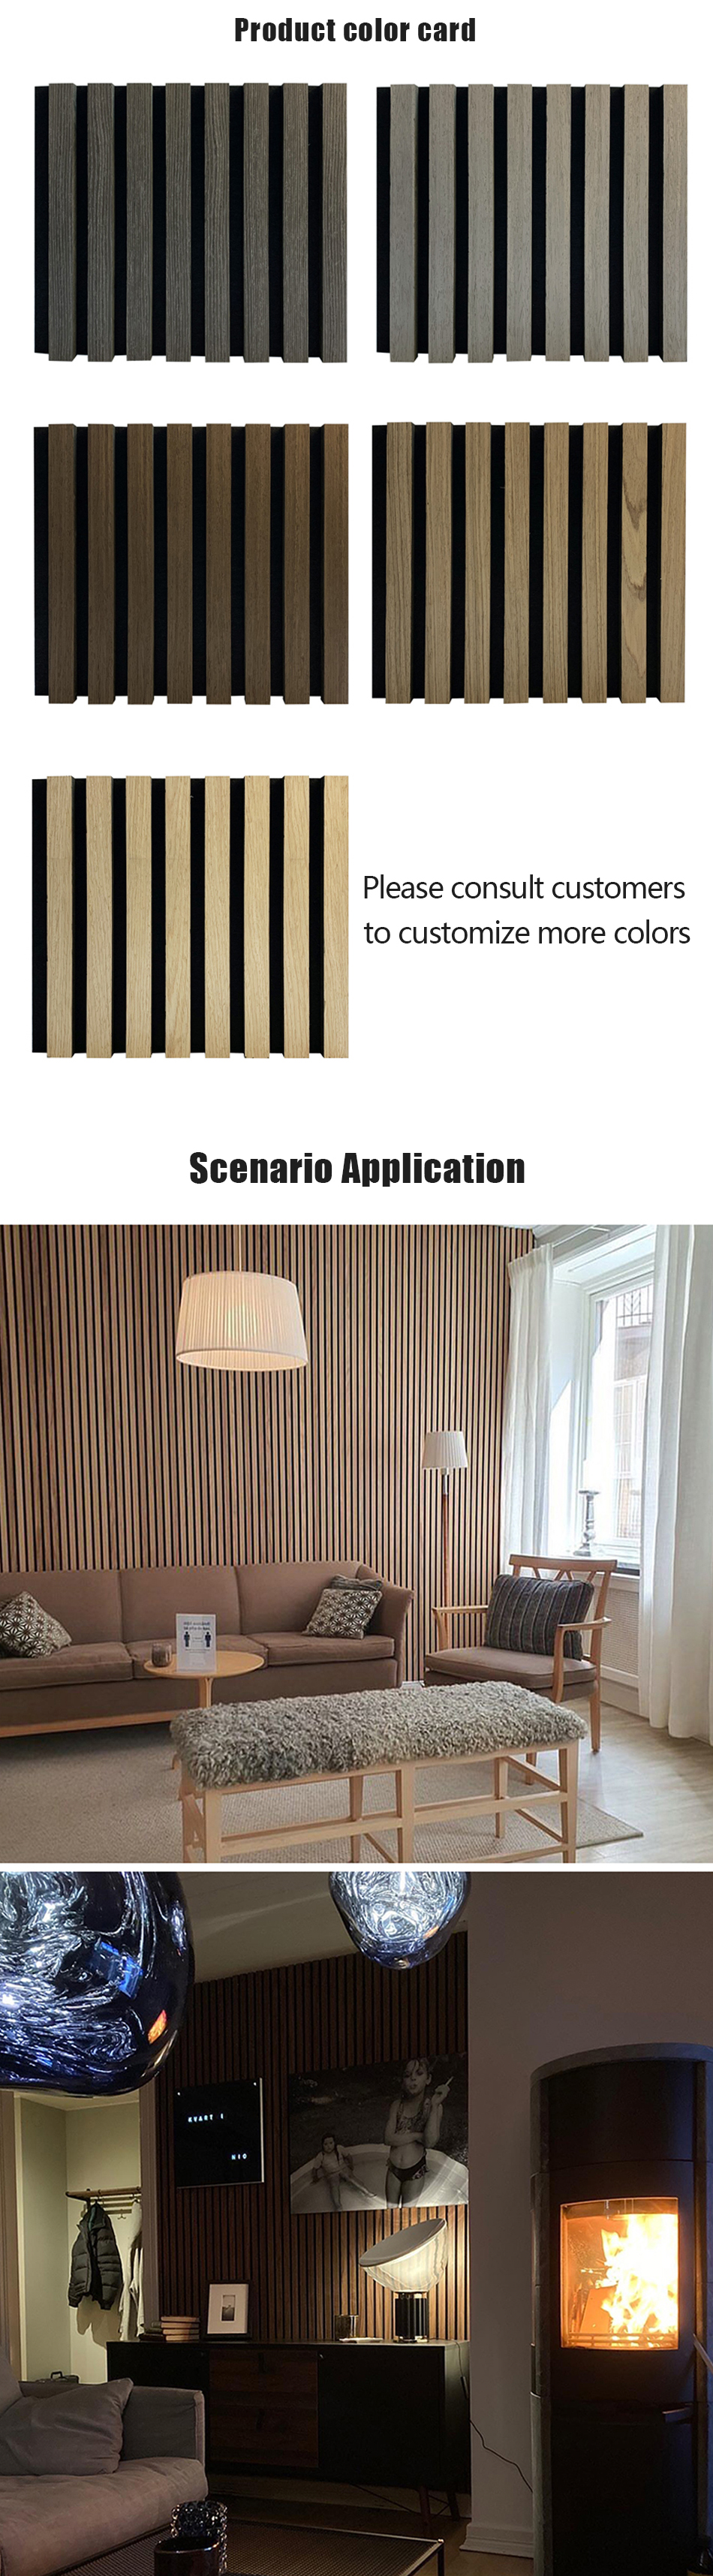
Modern Wall Paneling Please note: When you buy products through links on this page, we may earn an affiliate commission.